
How to Make Edible Starburst Slime
Edible Starburst slime is safe, stretchy, and tasty—made from melted Starburst candies, powdered sugar, and cornstarch. Perfect for sensory play and a fun science experiment for ages 5+.
Cooking Info
- Time:About 15 minutes
- Difficulty:★★
- Servings:Enough for 2 kids
- Cost:About $15
- Recommended for:Ages 5+
Recipe highlights
Large microwave-safe mixing bowl
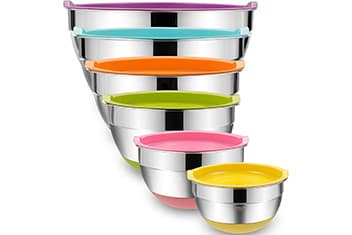
Use a large microwave-safe bowl to melt the Starbursts. Plastic or glass works best—easy to clean and safe for kids to help.
See ProductPlastic mixing spoon or spatula
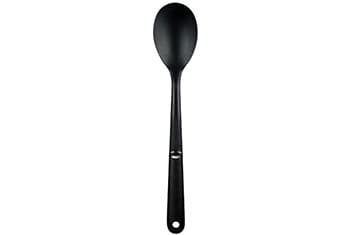
A plastic spoon or spatula is perfect for stirring the melted candy and mixing in the powdered sugar and cornstarch.
See ProductMeasuring cups

Measure the powdered sugar and cornstarch accurately so your slime turns out the right consistency.
See ProductAirtight storage container
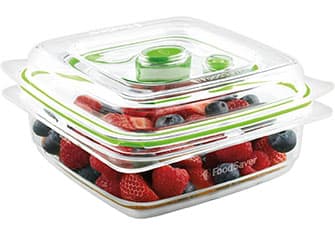
Store your finished slime in an airtight container to keep it fresh and stretchy for next time.
See ProductMaterials
- Large microwave-safe mixing bowl
- Plastic mixing spoon or spatula
- Measuring cups
- Wax paper (for kneading)
- Airtight storage container
Ingredients
- Starburst candies (melt in microwave to form a gooey base; use one color or mix for rainbow slime)
- Powdered sugar (reduces stickiness and makes slime easier to play with)
- Cornstarch (thickens the slime and gives it a stretchy consistency)
Directions
- Unwrap all Starburst candies and separate them into piles by color. Pick one color or mix for rainbow slime.
- Place the Starbursts in the microwave-safe bowl. Ask an adult to microwave for 30 seconds, then stir. Repeat until the candies are completely melted and gooey.
- Add the measured powdered sugar and cornstarch to the melted candy. Stir until everything is well combined.
- Let the mixture cool until safe to touch. Sprinkle powdered sugar on wax paper and turn the slime out onto it.
- Knead the slime by squishing and stretching until it is smooth and stretchy but not sticky. Store in an airtight container when done playing.
Edible Starburst slime is a fun twist on traditional slime: safe to play with and safe to nibble. Making it is a cool science experiment—you get to see how things can be solid and liquid at the same time. Starbursts are colorful, easy to find, and when melted they make a gooey base that’s perfect for slime. You can try other candies (like gummy bears or marshmallows), but Starbursts give a great balance of stretchy, gooey, and yummy.
Customizing your slime: Mix colors for rainbow slime, layer colors for a “slime cake,” or make a batch of each color and see which stretches farthest. Add a little edible glitter from the baking aisle for sparkle. Store slime in an airtight container so you can play again next time.